

Easy Apricot & Almond Focaccia with Boddington’s Apricot Conserve
Apricot Conserve Focaccia
Soft, airy and lightly sweet, this Apricot Conserve Focaccia Bread combines classic homemade focaccia with pockets of fruity apricot jam, toasted almonds and a glossy citrus glaze. Baked with our Apricot Conserve, this recipe creates a beautifully golden focaccia with a crisp base, fluffy interior and bursts of apricot flavour throughout.
Total time: 2.5 hours (excluding the optional 12+ overnight hours)

Equipment:
-
- Large mixing bowl
- Jug
- Scales
- Baking pan 9 x 13 inches (any smaller and I recommend halving the recipe)
- Greaseproof paper
- Whisk
- Pastry brush
- Piping bag
- Spatula
- Zester
- Cooling rack
- Scissors (if using a disposable piping bag)
Ingredients: 
- 470g lukewarm water
- 560g Strong plain flour
- 1 tablespoon caster sugar
- 7g dried yeast (1 sachet)
- 1 tablespoon oil (see note 1)
- ½ Orange zest
- 1 ½ tsp fine salt
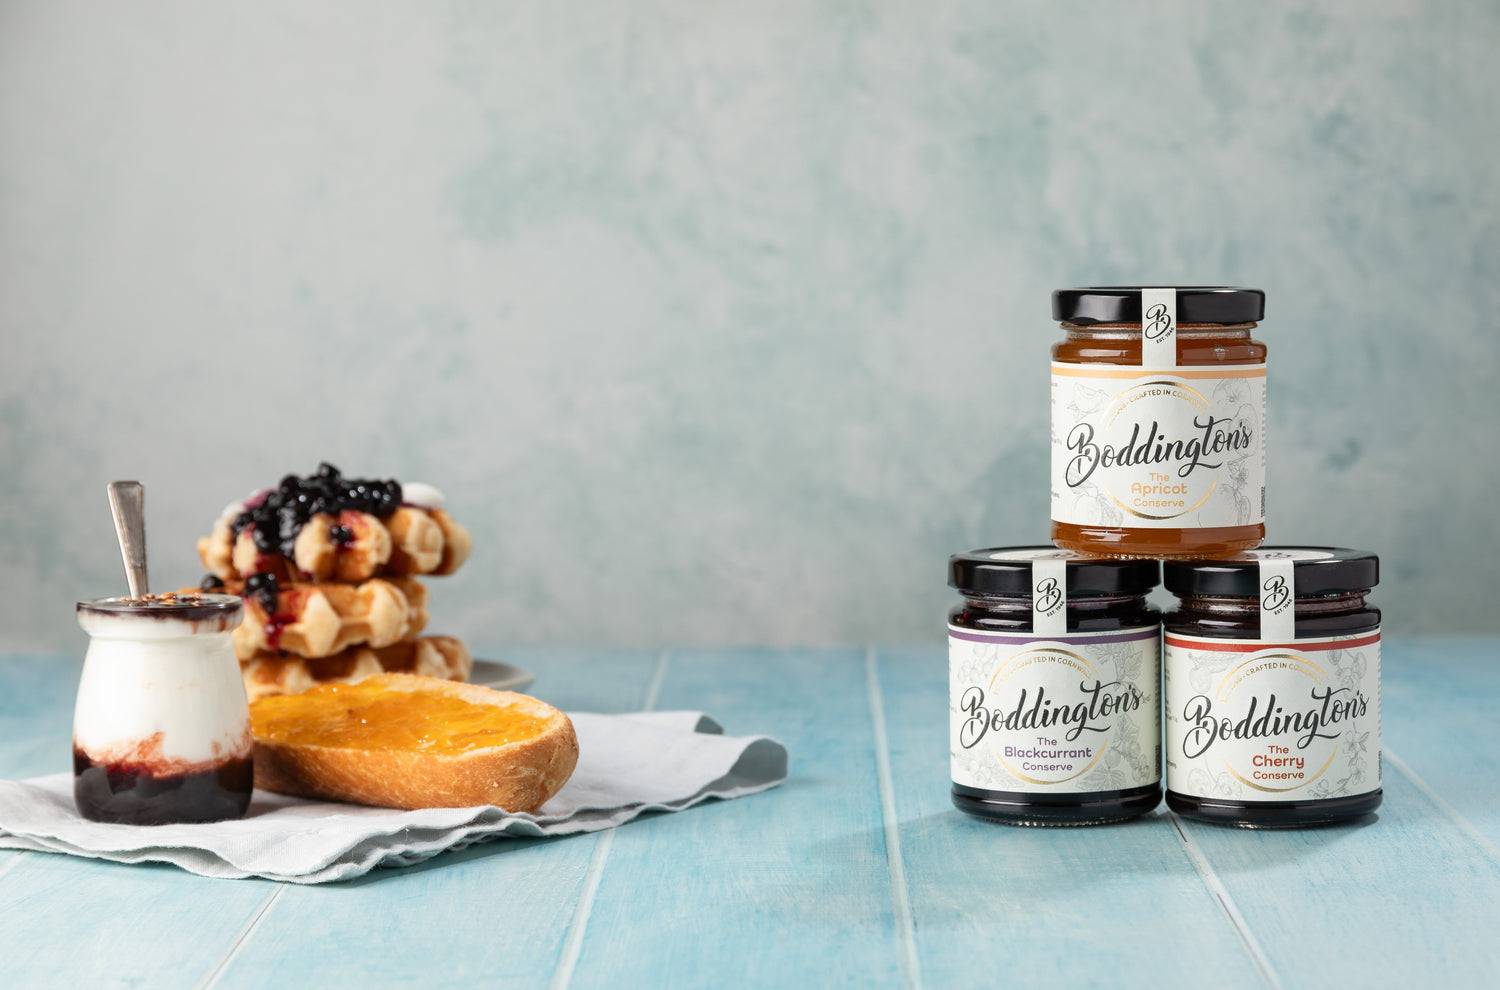
- Boddington’s Apricot Conserve
- 70g chopped almonds (baked for a few minutes in the oven or air fryer)
Note: You can use any oil with this recipe either olive oil or an unflavoured oil. It will affect the final flavour. If using an olive oil, opt for one that is pale in colour and says ‘suitable for baking’ on the bottle. If you use a very strong olive oil, it could overpower the apricot flavour.
Method:
1.
To a large bowl, add 470g lukewarm water, 1 tablespoon caster sugar, 7g dried yeast, 1 tablespoon oil and zest of half an orange. Use a whisk to combine.
2.
Add the flour, then salt and stir to combine. This bread doesn’t need to be kneaded. Keep stirring with a wooden spoon until all the flour is hydrated (no more dry areas). If your dough is looking dry, add a little more lukewarm water, but be careful not to add too much.
3.
Scrape down the sides with a spatula and cover the dough with clingfilm or a clean tea towel. Leave at room temperature for 30 minutes.
4.
Now begin stretch and folds. Lift one side of the dough and fold it over itself to the opposite side. Turn the bowl one quarter and repeat until you have completed 4 stretch and folds.
5.
Cover the dough again and leave it to rest for 30 minutes. You will repeat these another 3 times, leaving 30 minutes between each round.
6.
After 4 sets of stretch and folds, your dough should have a slight wobble and be smooth. If it isn’t, carry out another set of stretch and folds and leave for a further 30 minutes. You should notice the dough starts to resist being folded, starting to pull back on itself.
7.
Now you have two options. You can either let the dough rise at room temperature for 30 minutes or you can place the dough in the fridge overnight for a 12–24-hour rise.
I have tried both ways… but there isn’t a big difference in the overall result; one may be more convenient than the other, depending on when you want the focaccia to be ready!
8.
Wet your hands and complete one final stretch and fold. Be careful not to burst any bubbles that have formed.
9.
Place greaseproof paper into your baking tin and drizzle with oil. The oil helps create a crispy base, so make sure you use enough.
10.
Transfer the dough into the pan and cover with clingfilm or a tea towel.
11.
If you chose to let the dough rise at room temperature for 30 minutes, you will now leave the dough to proof in the pan for 1 hour.
If you chose to let the dough rise in the fridge, you will now leave the dough to proof in the pan for 2 hours.
12.
Preheat your oven to 200 degrees Celsius (fan).
13.
Drizzle the dough with more oil (yes, more!). Now you can begin carrying out the signature focaccia dimpling. Using your fingers, dimple the dough, pressing right to the bottom of the tin. As you do this, gently jiggle your hands; this will help the bubbles come to the surface.
14.
Fill a piping bag with Boddington’s Apricot Conserve. Leave roughly 1 tablespoon for the glaze at the end. I used the whole jar in this recipe, but you can use as much as you want to fill the focaccia.
15.
Begin piping the jam into the dimples you have just created. While you don’t need to overthink it too much, I'd recommend trying to make sure the piping tip doesn’t go too far to the base of the dough. You want to create little pockets of jam within the bread; you don’t want all the jam to end up in the tray after baking.
I’d recommend pushing the piping tip only halfway into the dough and gently squeezing until the jam oozes at the top and quickly stopping. We don’t want too much jam on the surface of the dough as it will be prone to catching in the oven.
16.
When you’re happy with the number of jam pockets, place your focaccia in the oven for 25 minutes. The focaccia should have a lovely deep golden colour, and the base should be equally golden and crisp. If you think it needs a little longer, place it back in the oven for 5 minutes.
17.
Meanwhile, make the apricot glaze by adding 1 tablespoon of boiling water to the remaining apricot jam and stir to combine. Place in the microwave for 15 seconds, then coat the focaccia's surface with a pastry brush.
18.
Finally, scatter the focaccia with almonds.
This apricot focaccia is best enjoyed fresh on the day it’s baked, but any leftovers can be revived in the oven or air fryer for around 15 minutes until warm and crisp. It’s also delicious sliced and toasted with butter. Be sure to keep an eye on it, as it’ll brown much faster with jam glaze.

A special thank you to Lemon Pip Bakery for inspiring and collaborating on this beautiful recipe, showcasing just how versatile apricot conserve can be in home baking.

